



 English



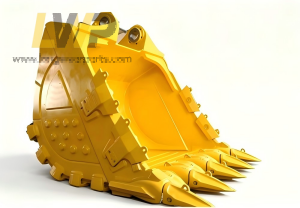


Products information:
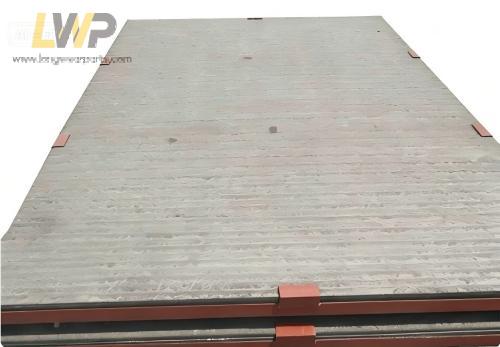
1)Bucket body material: Q355 / Q460 / Q690 +NM400 / NM 500/HARDOX500;
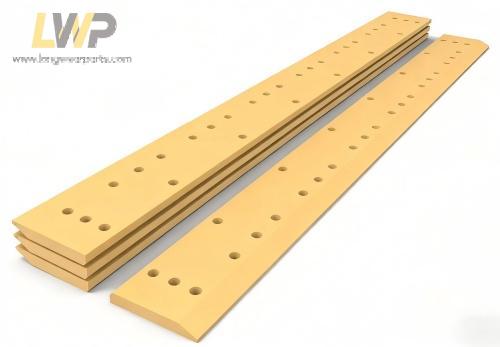
2)Attachments: rock teeth, adapters, side cutters, wing protectors, side wearing plates, back wearing bars, lip protectors, heel shrouds;
3)Outstanding Feature:customized design & color;
4)Package: packed in strong pallets;
5)Working Condition: strongest among the buckets above, suits the most extreme construction conditions,highly abrasive cases such as severe rock, providing highest level wear prot
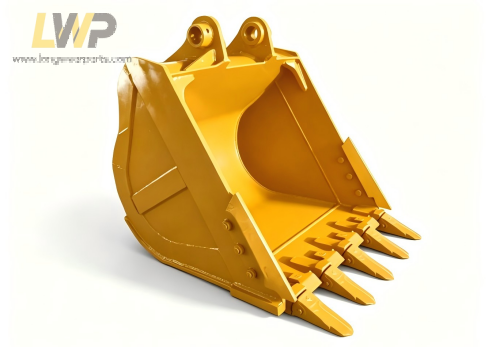
China Long wear parts@ digging buckets/rock buckets are professional heavy-duty attachments which designed to match all series of Excavators and Loaders, include Caterpillar/CAT, Komatsu, Hitachi, Volvo,Kobelco, Doosan/Develon, Hyundai, Sany, XCMG/Xugong, Liugong,Case,JCB, Liebherr and other mainstream brands.
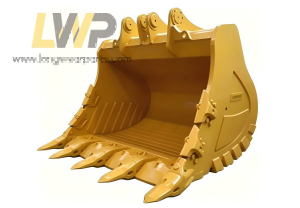
Our Long wear parts@ supply a full range of Komatsu bucket types, including standard digging buckets, heavy-duty rock buckets, reinforced mining buckets, dredging buckets, skeleton screening buckets and tilt buckets.All products comply with international industry standards, with reliable quality and stable performance.
Besides, We Long wear parts@ can support OEM & customized services, including customized capacity, bucket size, bucket tooth type and surface treatment to meet diverse construction, mining, road renovation and water conservancy project demands.
China Long wear parts@ is your best choice for replacing after-market buckets .
Equipment type
Bucket Model
Komatsu Tracked excavator - Giant mining excavator
Komatsu PC650LC Bucket
Komatsu Tracked excavator - Giant mining excavator
Komatsu PC700LC Bucket
Komatsu Tracked excavator - Giant mining excavator
Komatsu PC800SE Bucket
Komatsu Tracked excavator - Giant mining excavator
Komatsu PC850 Bucket
Komatsu Tracked excavator - Giant mining excavator
Komatsu PC900 Bucket
Komatsu Tracked excavator - Giant mining excavator
Komatsu PC950-11M0 Bucket
Komatsu Tracked excavator - Giant mining excavator
Komatsu PC1250 Bucket
Komatsu Tracked excavator - Giant mining excavator
Komatsu PC2000 Bucket
Komatsu Tracked excavator - Giant mining excavator
Komatsu PC3000 Bucket
Komatsu Tracked excavator - Giant mining excavator
Komatsu PC4000 Bucket
Komatsu Tracked excavator - Giant mining excavator
Komatsu PC5500 Bucket
Komatsu Tracked excavator - Giant mining excavator
Komatsu PC7000 Bucket
Komatsu Tracked excavator - Giant mining excavator
Komatsu PC8000-6 Bucket
Contact: Zoe Shi
Phone: +86-19700710133
Tel: +86-19700710133
Email: order@longwearparts.com
Add: Beilun District, Ningbo, China
We chat